MEYLE-HD tie rod end: Tips & tricks for proper assembly
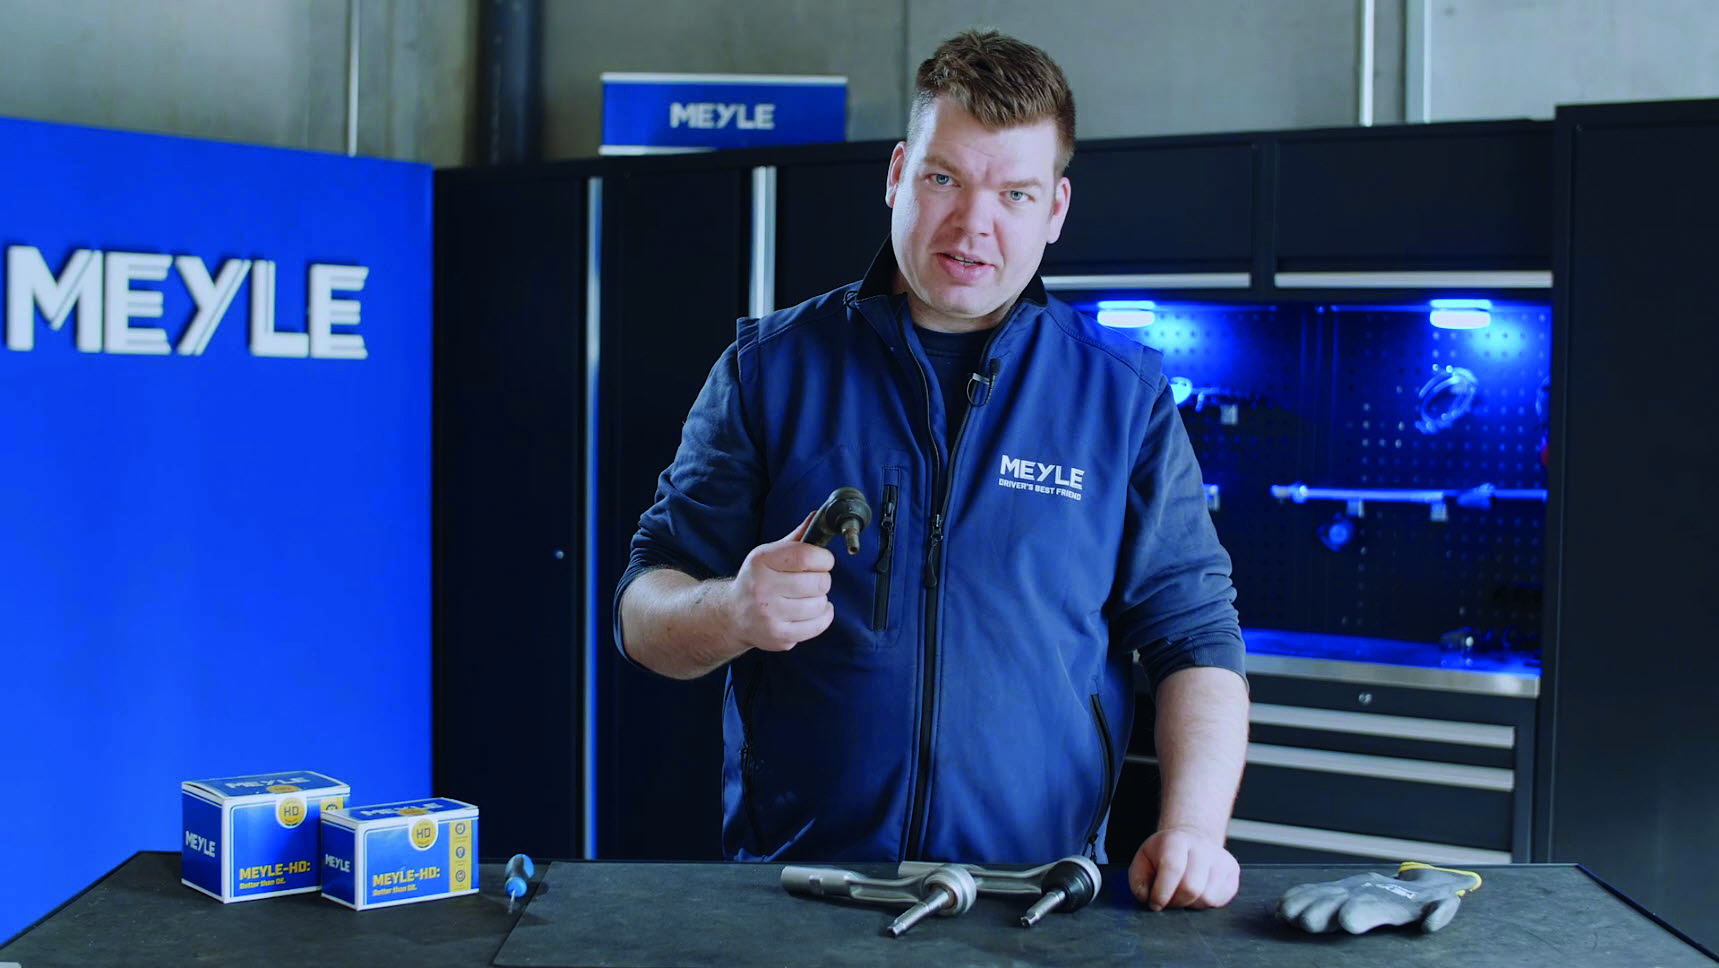
Tie rod ends are durable components with a range of more than 100,000 kilometers. They are also typical wear parts that have to be replaced over time. A characteristic defect at the tie rod end is a damaged rubber sleeve. The actual defect is often a consequential damage to the defective rubber sleeve: sand and water can enter through the defect. As a result, the ball pin begins to rust. Sand and dust can also get between the ball pin and the plastic seat and grinds the plastic seat to a rough finish – leading to play between ball pin and plastic seat. All this damages the tie rod end and affects the directional stability of the vehicle – and thus represents a real safety risk. The durability of a tie rod end can be significantly extended with just a few work steps. In a new video on the MEYLE TV channel, Hamburg-based manufacturer MEYLE shows how this can be done on the VW T4.
Step 1: Cleaning the steeling knuckle
Before the installation of the new tie rod end can begin, the contact surface of the steering knuckle on which the rubber rests must be cleaned. This is necessary so that the rubber on the steering knuckle can rotate freely.
Step 2: Lubricating the steering knuckle surface with silicone grease
After cleaning the contact surface on the steering knuckle, it should be lubricated with silicone grease. This will help the rubber sleeve to slide over the surface of the steering knuckle for not be twisted when the steering wheel is turned.
Step 3: Installing the tie rod end
Now install the MEYLE-HD tie rod end and tighten the nut with 65 Nm. The nut must be tightened by hand until the ball pin is no longer to turn. The final torque is then tightened with a torque wrench. Do not use an impact wrench under any circumstances to tighten the tie rod end.
Step 4: Carrying out the wheel alignment
It is always necessary that a wheel alignment is carried out after the installation of the tie rod end in order to adapt the axle geometry of the vehicle to the manufacturer's specifications. Then the lock nut of the tie rod end is tightened with 55 Nm.
All steps can be seen in a short video tutorial on the YouTube channel MEYLE-TV.
Attention: These contents are intended for qualified personnel. They show a simplified and abbreviated form and do not represent a procedure. The vehicle manufacturer's specifications and instructions must be followed. These always take precedence over the general procedure presented here. MEYLE AG accepts no responsibility and rejects all liability if the activities shown in the video or this instruction are imitated.
To download this press photo please click here: download press photo
Download (DOCX 166 KB)